Flux.1 LoRA Tutorial: Generator for Free
In the ever-evolving world of AI art, Flux.1 is quickly becoming a game-changer, surpassing even the most popular tools like Midjourney in terms of realism. But what if you could take it a step further? By combining Flux.1 with LoRA (Low-Rank Adaptation), you can fine-tune your creations to produce not only ultra-realistic images but also anime-style art, capturing every detail with precision. Whether you’re a seasoned AI artist or just starting out, this powerful duo will transform the way you generate stunning visuals across different styles.
Whether your goal is to create hyper-realistic portraits, beautifully stylized anime characters, or anything in between, Flux.1 combined with LoRA gives you the flexibility to achieve it all with ease. Flux.1’s state-of-the-art AI technology excels at generating detailed images, and with LoRA’s adaptability, you can fine-tune everything from the sharpness of facial features to the fluidity of anime expressions. Dive into this tutorial to learn how to leverage this powerful combination for a wide range of artistic styles.
What is LoRA?
LoRA, short for Low-Rank Adaptation, is a technique used in AI art generation that allows for fine-tuning of existing models to generate specific styles or details in images. Unlike traditional methods that might require extensive retraining of the entire model, LoRA focuses on adapting parts of the model, making it more efficient and flexible. This means you can apply different LoRA settings to achieve a variety of artistic effects—from hyper-realistic textures to stylized anime features—without needing to switch models or retrain from scratch.
In the context of Flux.1, LoRA is presented as "Presets," which you can select to adjust how the AI interprets and renders your prompts. These Presets allow you to guide the AI in producing images that match your desired style, whether that’s realism, anime, or something entirely unique.
LoRAs in Flux.1
Flux.1 currently offers a wide range of LoRA options, each designed to help you achieve different artistic effects. Some of the most popular LoRA Presets include:
- Flux Disney LoRA: Perfect for capturing the iconic look of Disney-style characters. This preset adds a touch of whimsy and charm, making your creations feel like they’ve stepped out of a classic animated film.
- Flux Realism LoRA: Perfect for creating hyper-realistic images with fine details, realistic lighting, and true-to-life textures. This preset excels at bringing out the natural beauty in portraits and landscapes.
- Flux Yarn Art LoRA: This unique LoRA gives your images a cozy, handcrafted look, simulating the appearance of yarn art. It’s ideal for adding a textured, artistic feel to your creations.
- Flux Aquarell Watercolor LoRA: Emulate the delicate, fluid style of watercolor paintings with this preset. It’s perfect for creating soft, dreamlike images with gentle washes of color.
These are just a few examples, and Flux.1 nad community continues to expand its library of LoRA Presets, giving you even more creative options.
Examples: Same Prompt, Different LoRA
To demonstrate the power of LoRA in Flux.1, let's take a look at how the same prompt can produce different results when combined with various LoRA settings.
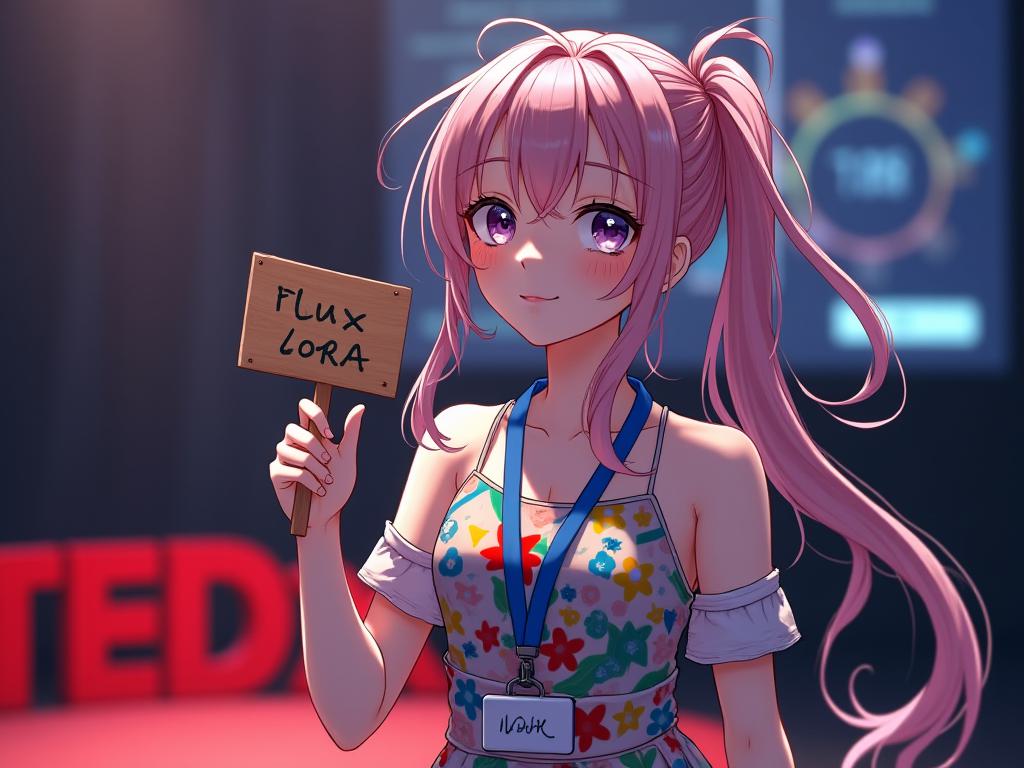
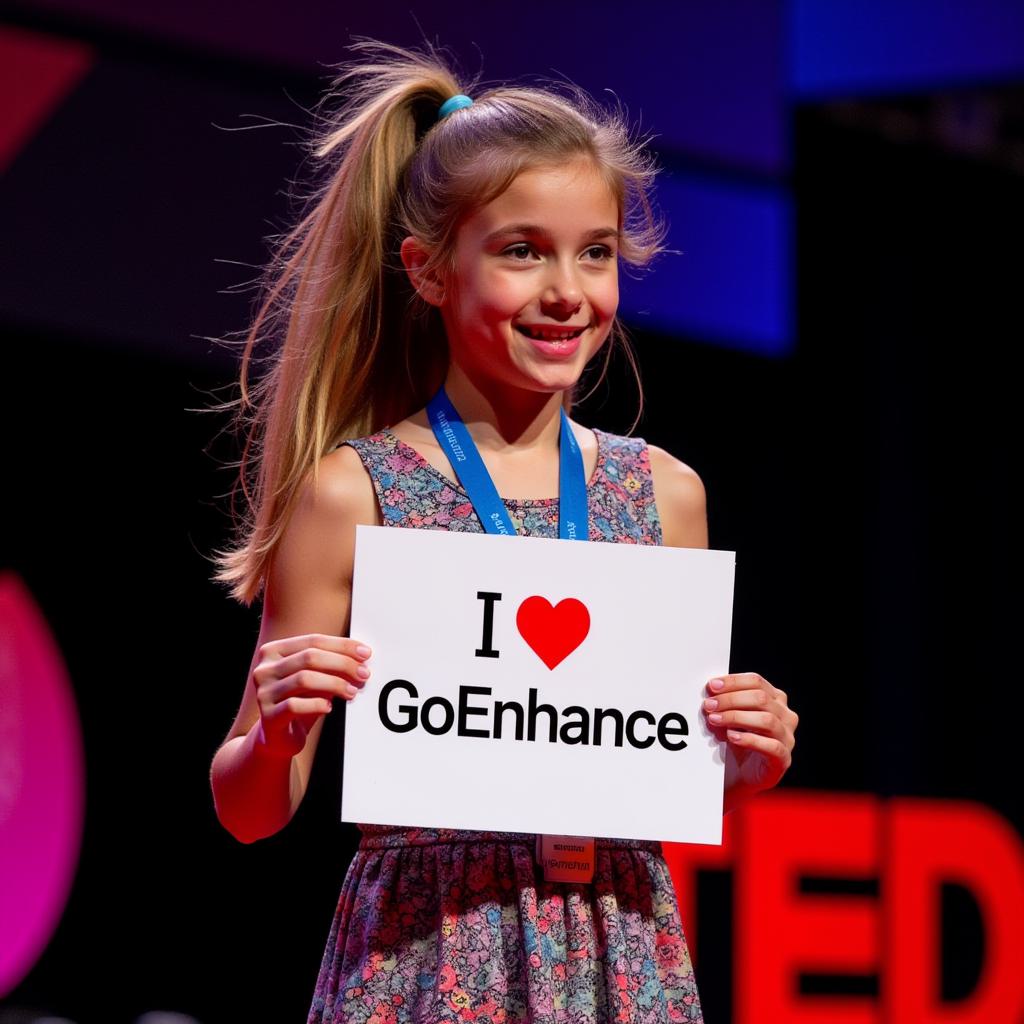
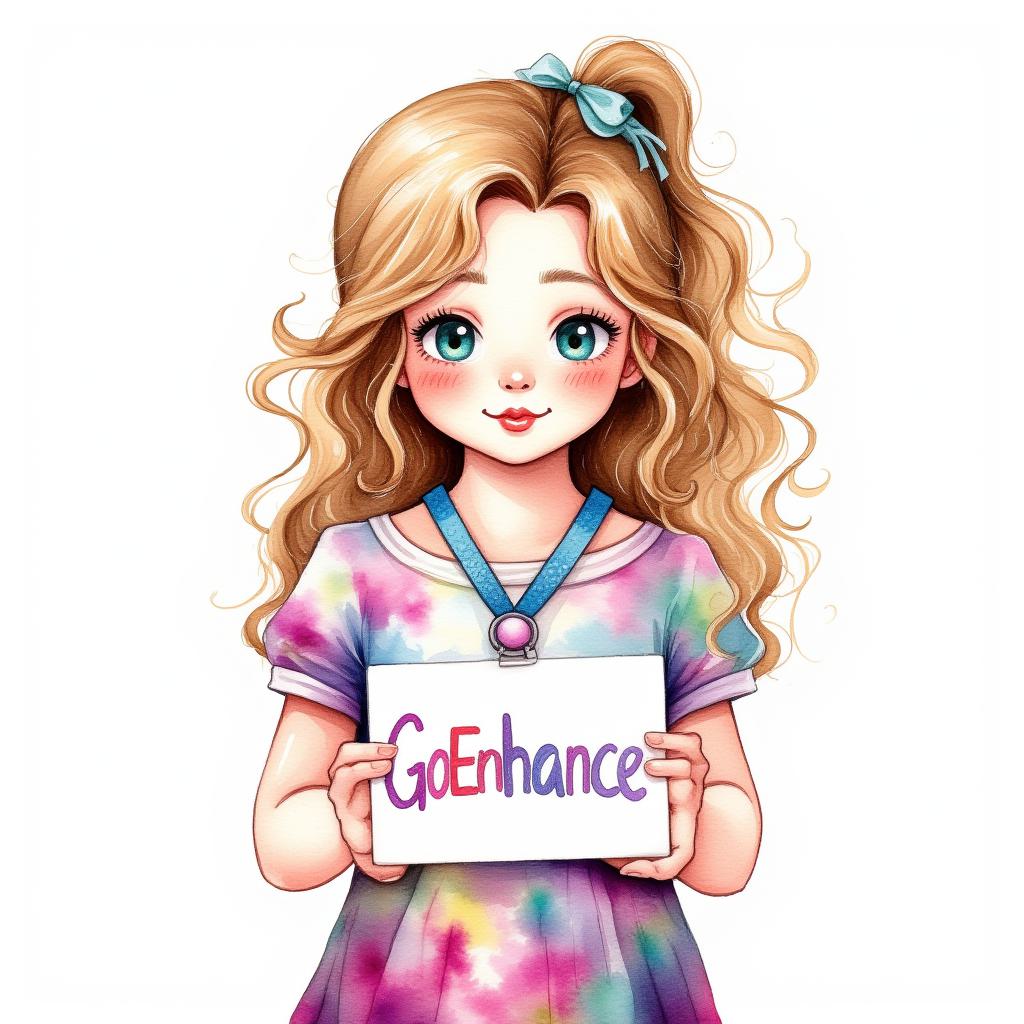
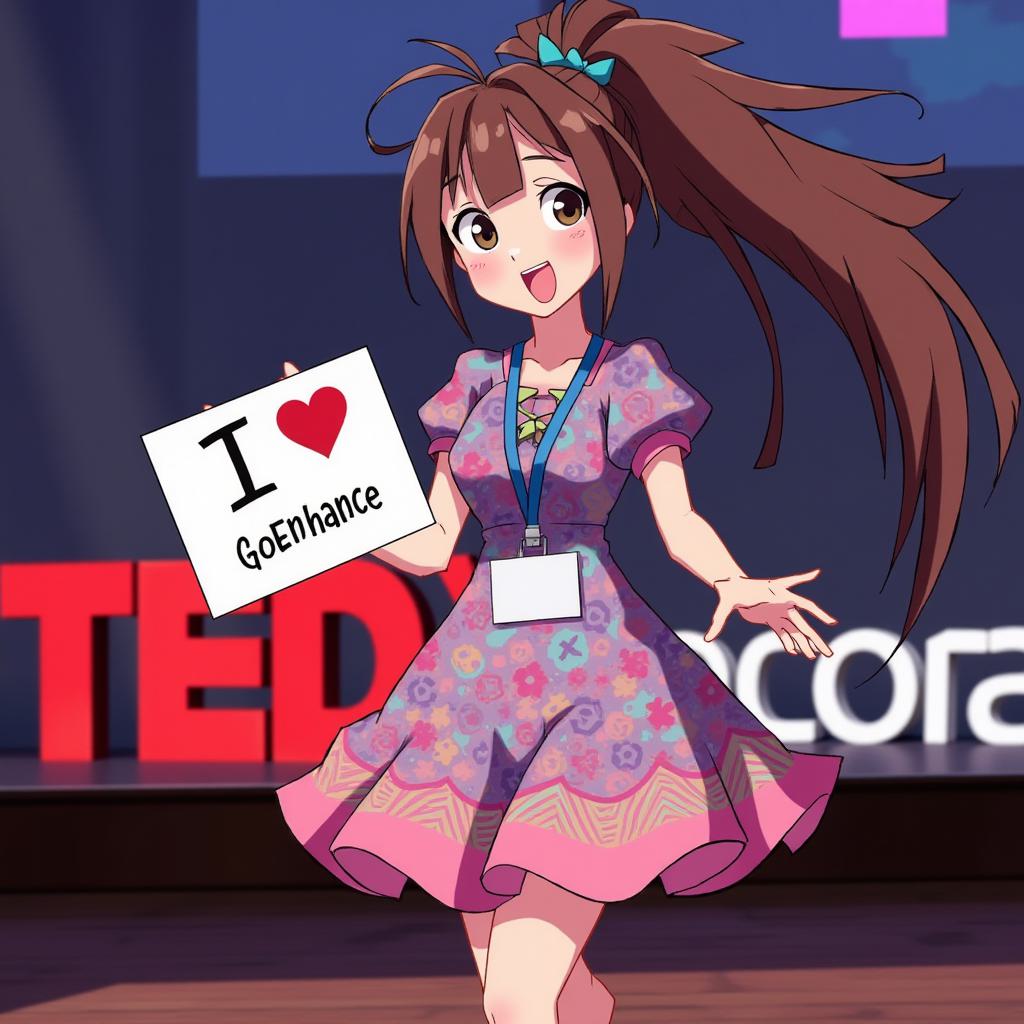
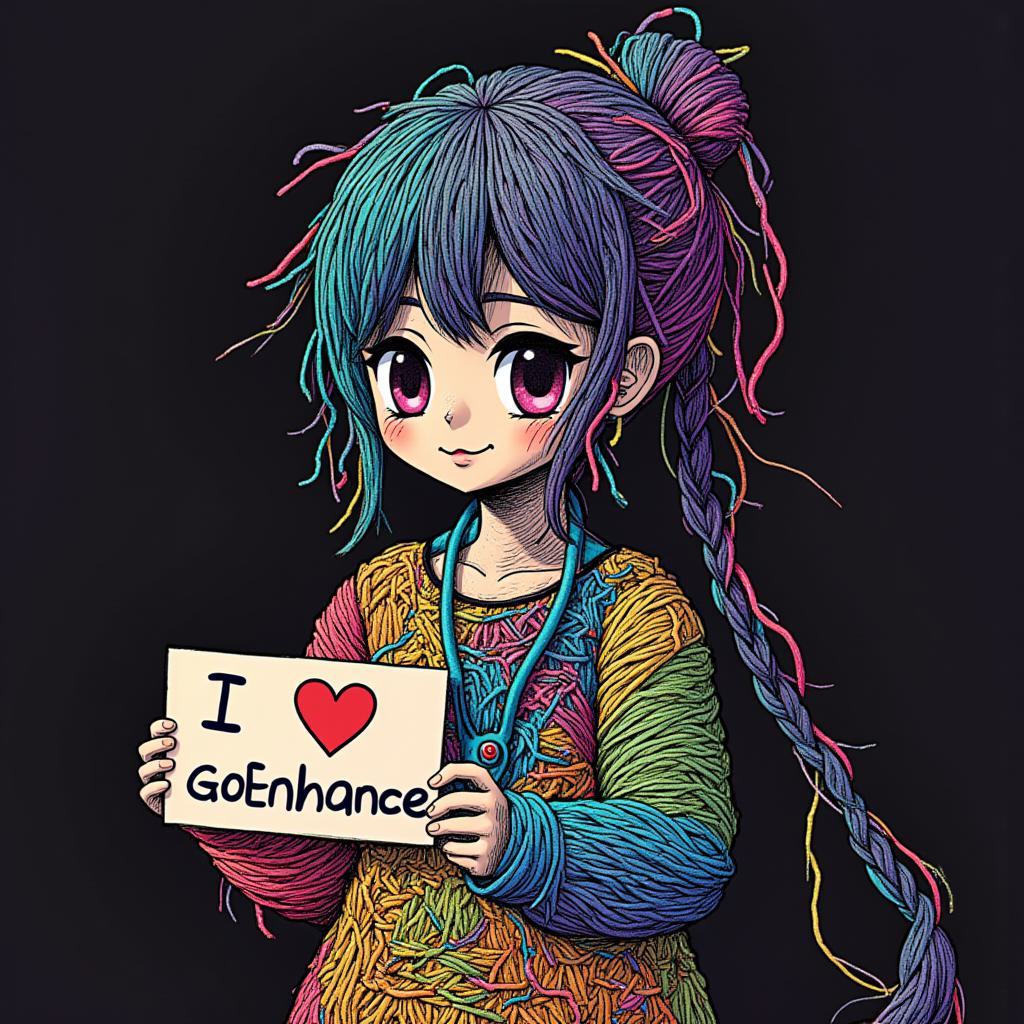
Prompt: A anime girl with long hair in a messy ponytail wearing a colorful dress with a blue lanyard around her neck holding a sign saying “I love GoEnhance” at a TedX stage.
-
With Realism LoRA:
-
With Aquarell Watercolor LoRA:
-
With Animation LoRA:
-
With Yarn Art LoRA:
How to Prompt on Flux.1
To get the best results with Flux, it’s essential to prompt in English and structure your inputs carefully. Flux’s AI responds best to well-constructed, detailed prompts that guide the generation process toward your desired outcome. Here’s a structure you can follow to create coherent and visually striking images:
- Start with a clear subject: Begin your prompt by specifying the main focus of your image. Whether it's a hyper-realistic portrait, an anime-style character, a landscape, or a product shot, be clear about the subject.
- Example: A hyper-realistic portrait of a young woman with long, flowing hair.
- Add details about appearance and style: Include details that describe the appearance, such as clothing, facial expressions, poses, or artistic styles. This helps the AI narrow down the visual aesthetic.
- Example: Wearing a vintage dress, smiling softly, with a dreamy, soft-focus background.
- Define the environment or setting: If your image needs a specific background or setting, include this information. It could be as simple as a color scheme or as detailed as a full scene description.
- Example: Standing in a sunlit garden with blooming flowers in the background.
By following this structured approach, you’ll guide Flux’s AI more effectively, resulting in images that closely match your creative vision. Experimenting with different prompt structures will also help you discover new possibilities and refine your skills over time.
Let's Start
Step 1: Log in to GoEnhance.ai
Start by creating an account on GoEnhance.ai. You’ll need a Google account, which is easy to set up if you don’t already have one. Once you're signed up, head to the Text to Image page.

Step 2: Write Your Keyword Prompt
Once you're logged in, it's time to start creating. Simply write your keyword prompt in the input field. There’s no need to worry about selecting a model—Flux.1 is the default model.
Step 3: Select a 'Preset' (LoRA)
After entering your prompt, enhance your creation by selecting a 'Preset'—Flux.1's term for LoRA. There are many Presets available, each offering unique styles and effects to customize your image. Browse through the options and select the one that best matches your vision.
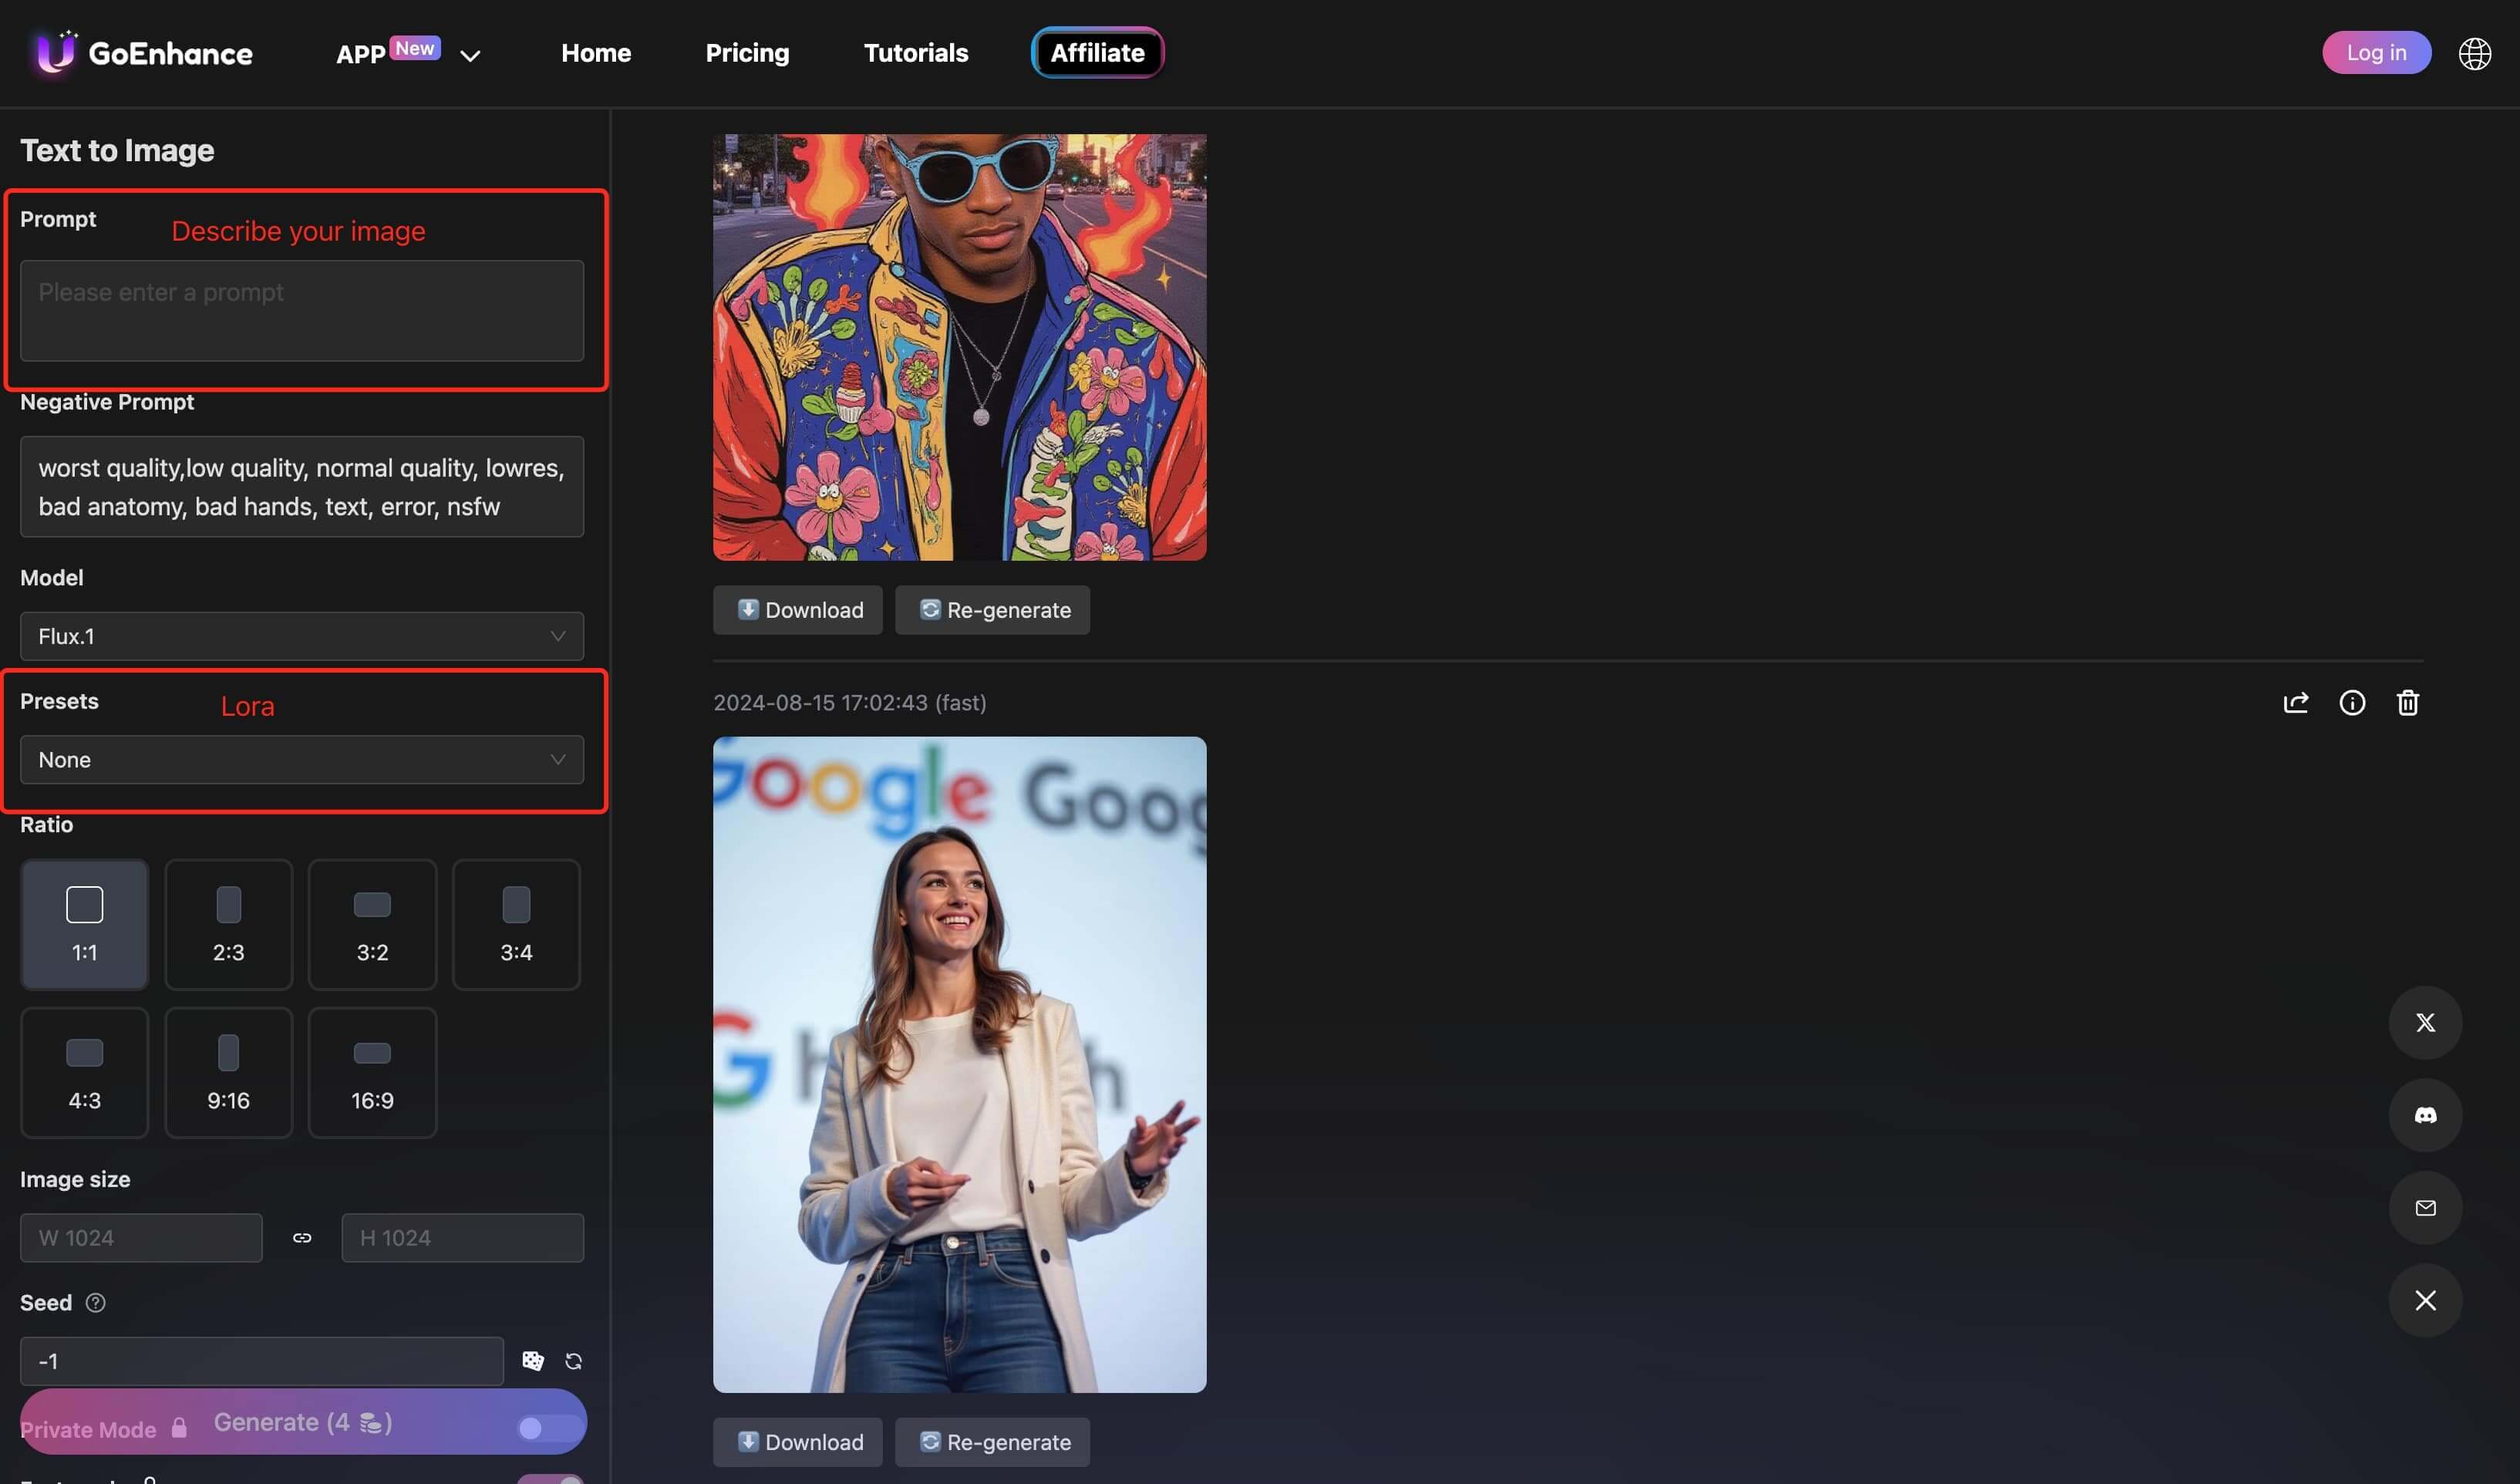
Step 4: Choose the Aspect Ratio and Generate
Select the appropriate aspect ratio for your image, then click "Generate" to create your AI masterpiece.
Congratulations! You've Successfully Generated Your Image
After clicking "Generate," Flux.1 will work its magic, and in moments, your unique creation will be ready. Whether you've created a breathtaking landscape, a detailed product image, or a vibrant character design, your image is now available for download. You can use it in your creative projects or even for commercial purposes—GoEnhance AI gives you the flexibility to make the most of your artwork.
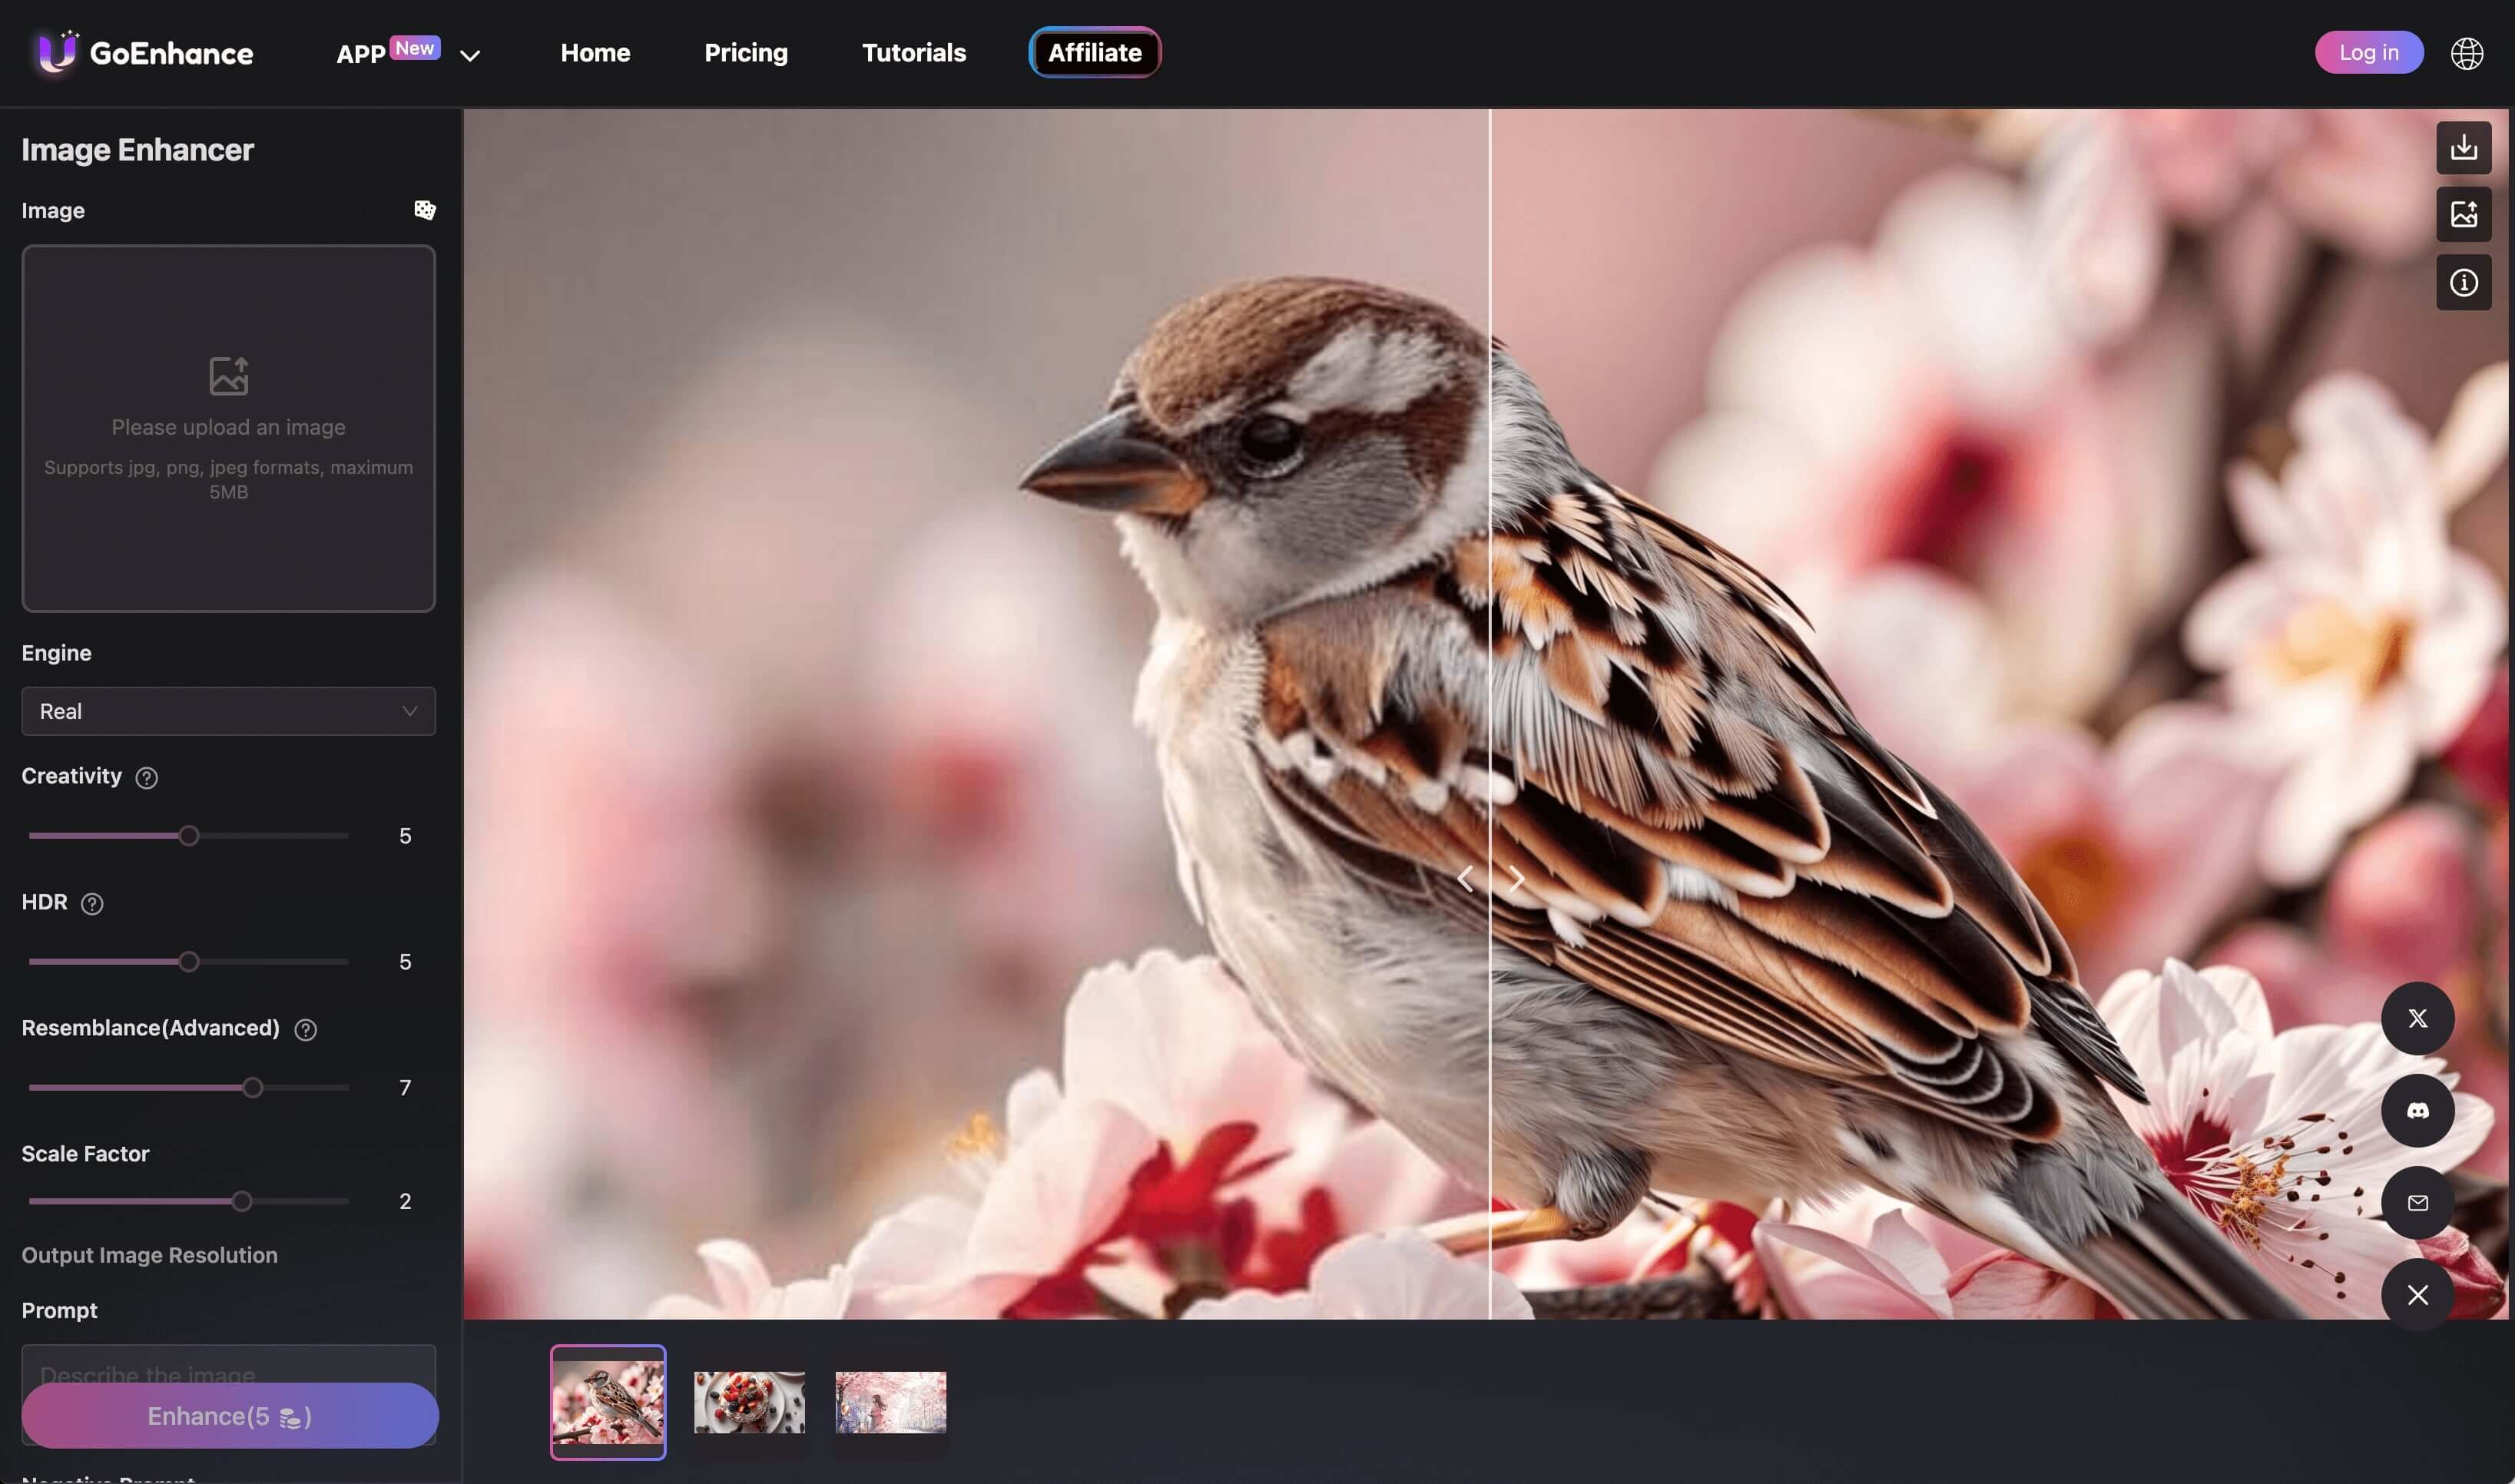
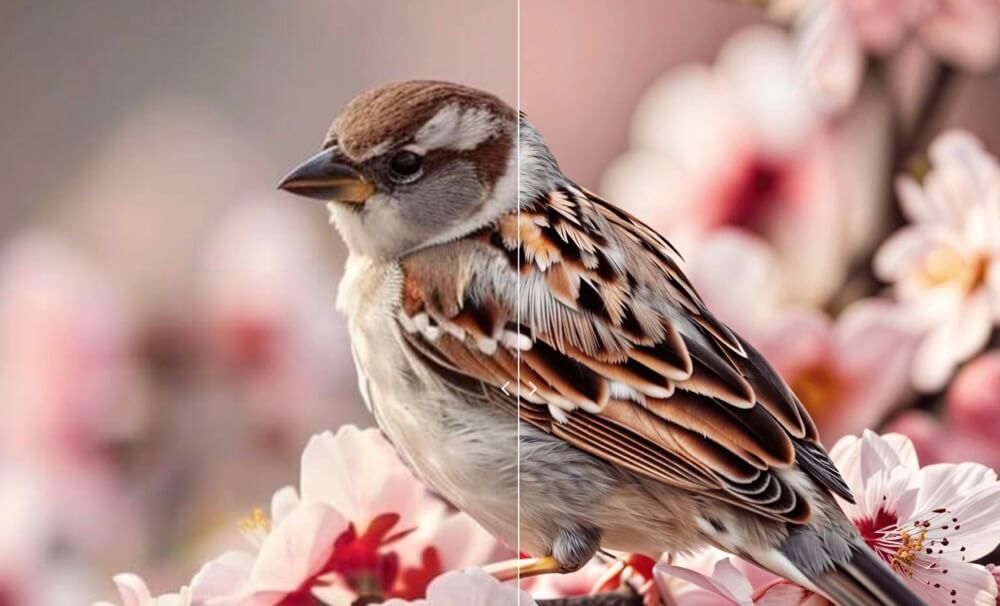
But that’s not all! If you want to take your image to the next level, GoEnhance AI also features an "Upscale and Enhance Image" tool. This allows you to increase the resolution of your image, making it even sharper and more detailed. Once you're satisfied, share your creation on social media and showcase your AI-generated masterpiece to the world!